
This No-Bake Biscoff Cheesecake has a buttery cookie crust, a creamy filling loaded with cookie butter flavor, and it sets up in the fridge without ever touching your oven.
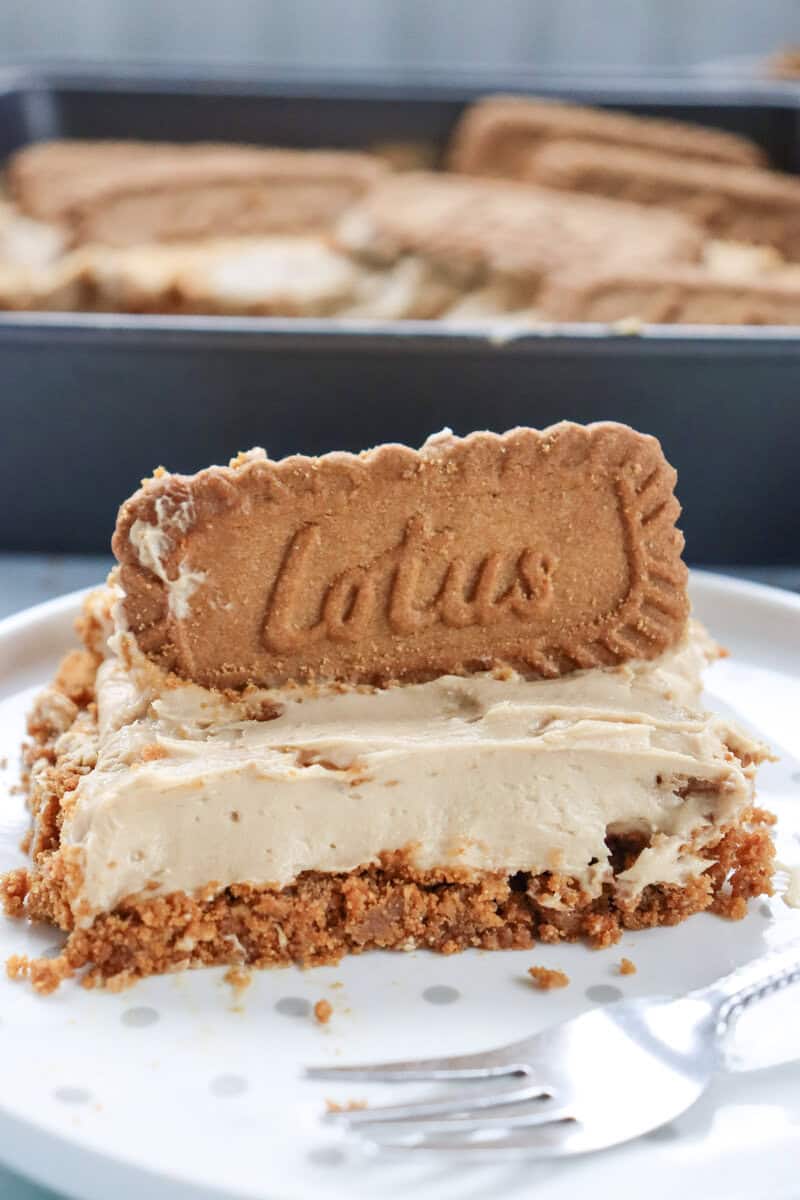
If you've never worked with Biscoff before, it's a spiced cookie butter made from caramelized European biscuits, and it turns a basic cheesecake into something a lot more interesting.
I love making this one when I want a dessert that looks impressive but doesn't take much time in the kitchen. It comes together in about 20 minutes of hands-on time, then the fridge does the rest while I do something else!
It's become one of my favorite make-ahead desserts for parties because I can have it ready a full day before I need it. If you love no-bake cheesecakes, check out my classic No Bake Cheesecake recipe!
Ingredients
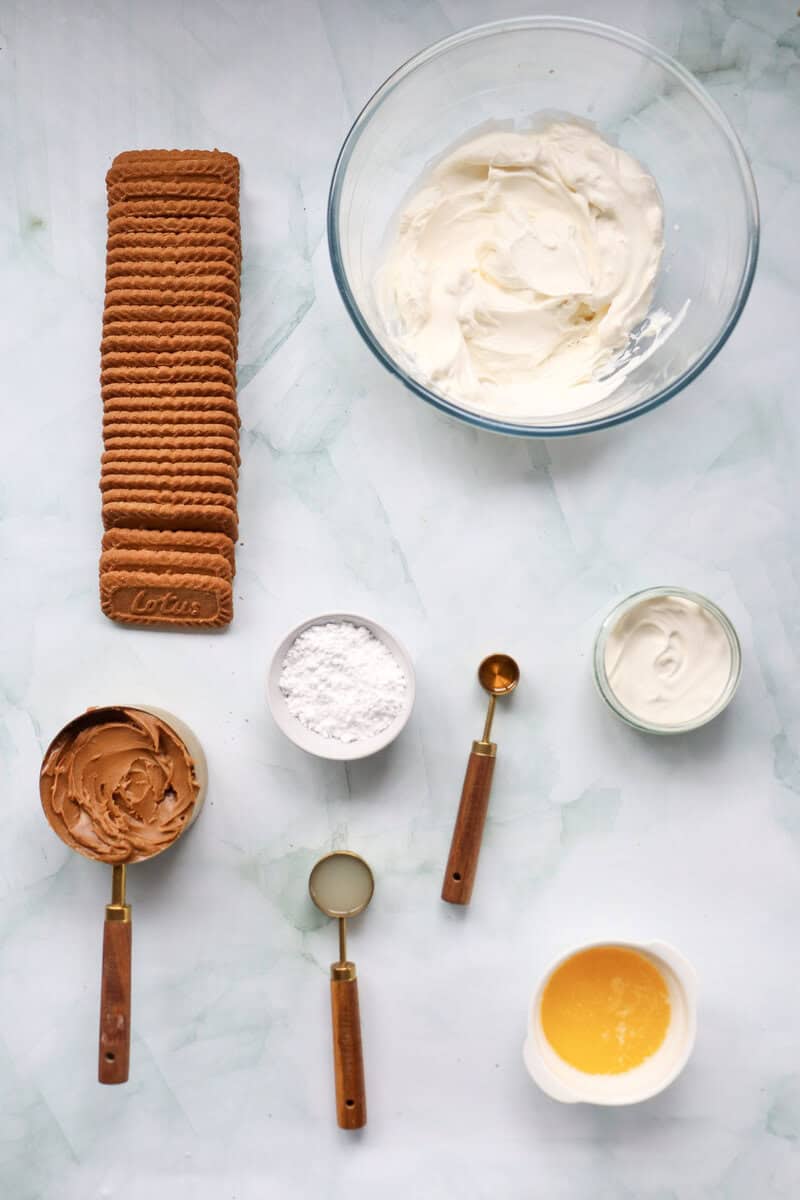
Biscoff cookies and Biscoff spread are the backbone of this easy Biscoff cheesecake recipe, and I'd recommend sticking with the real thing if you can find it. It has a deeper caramelized flavor than most generic cookie butters, and it's what gives the filling its signature taste.
You'll also need full-fat cream cheese for the best texture. Low-fat versions tend to make the filling softer and less stable once it's sliced.
See recipe card for quantities.
Make It Gluten Free
You can make this cheesecake gluten free without losing any of the flavor. Swap the Biscoff cookies and cookie butter for a gluten free speculoos style cookie like the one made by ChocZero. Be sure to try my Gluten Free Cheesecake, too!
How To Make Biscoff Cheesecake
Make the crust
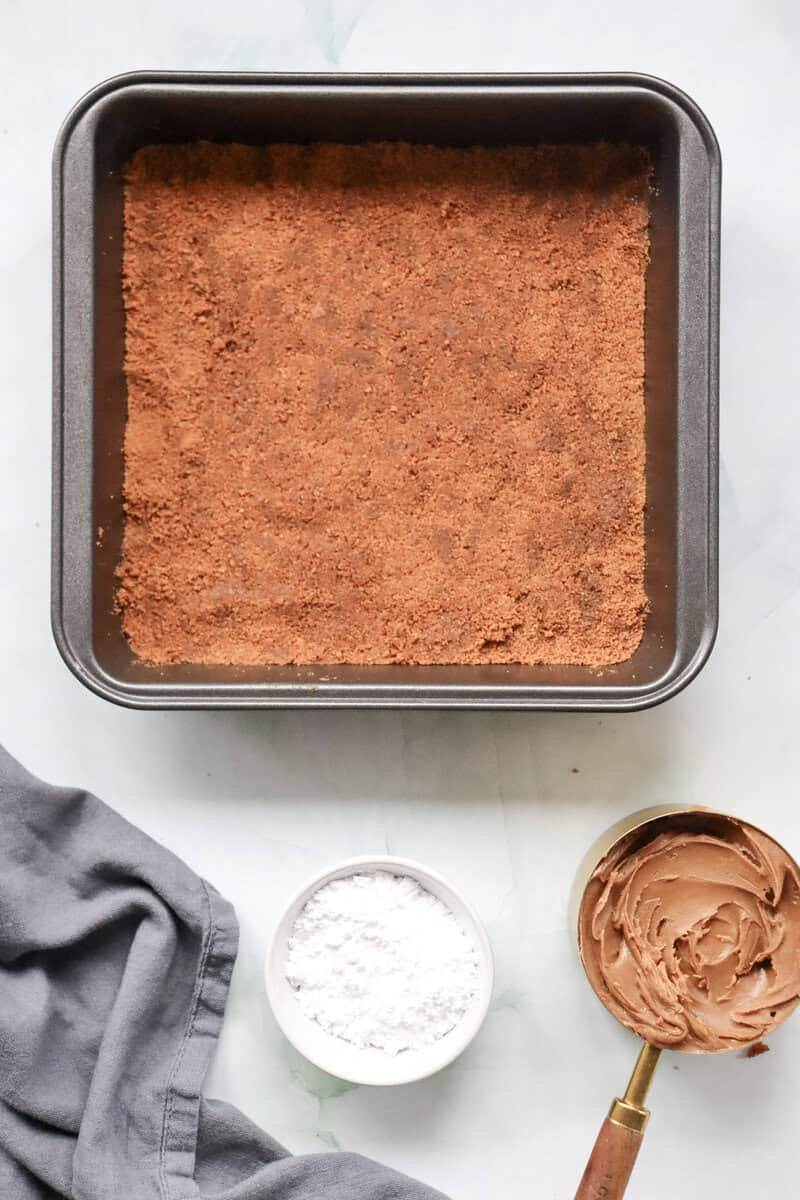
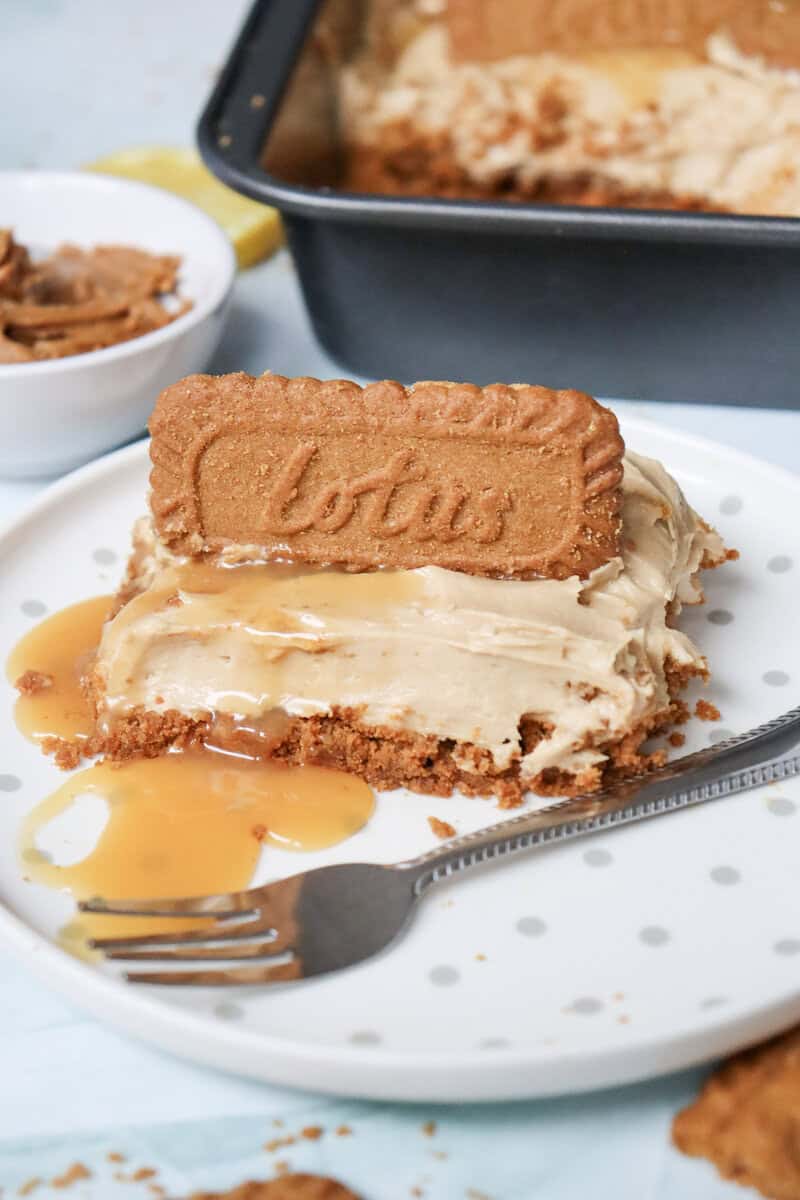
Crush the Biscoff cookies into fine crumbs, and set aside about 4 cookies to use for garnish later. Mix the crumbs with the melted butter until the mixture resembles damp sand, then press it firmly into a small square pan lined with parchment. I use the bottom of a glass to pack it down evenly so it holds together once sliced.
Make the filling
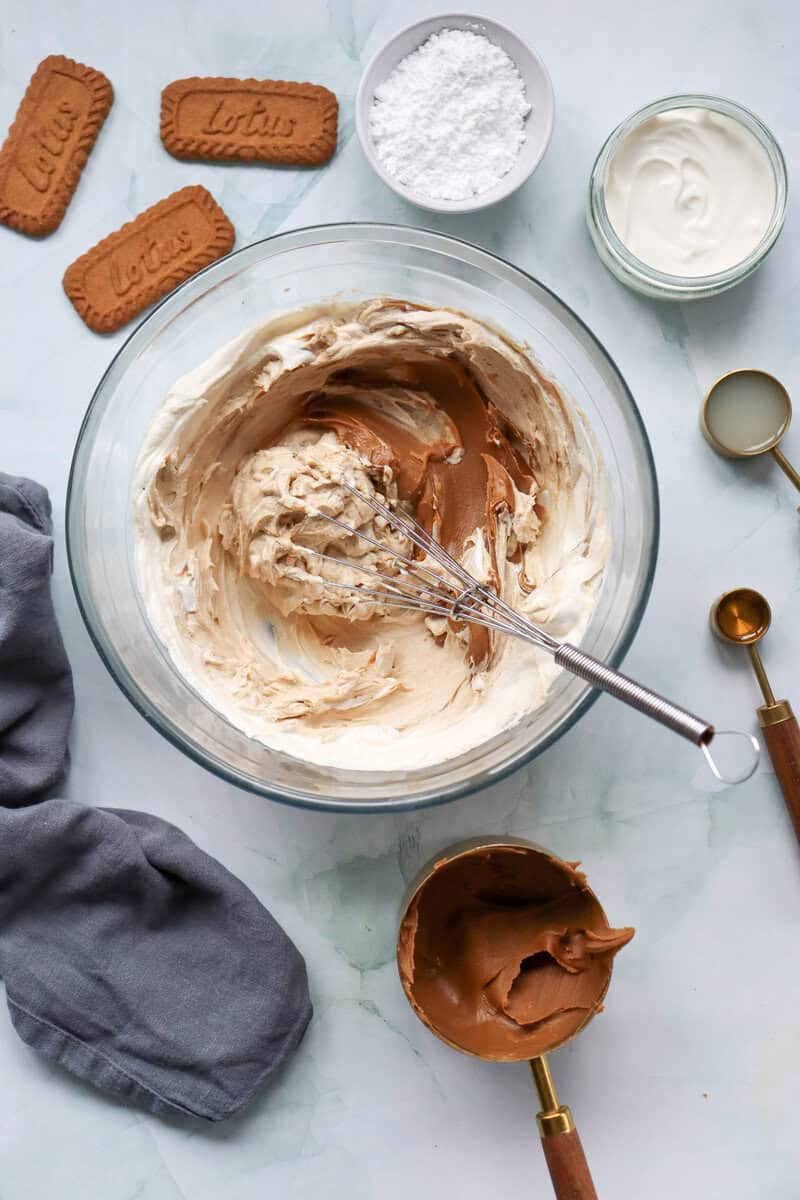
Beat the cream cheese with the powdered sugar and vanilla extract until smooth and creamy. Add the Biscoff spread and fold it in until fully combined.
Whip the cream
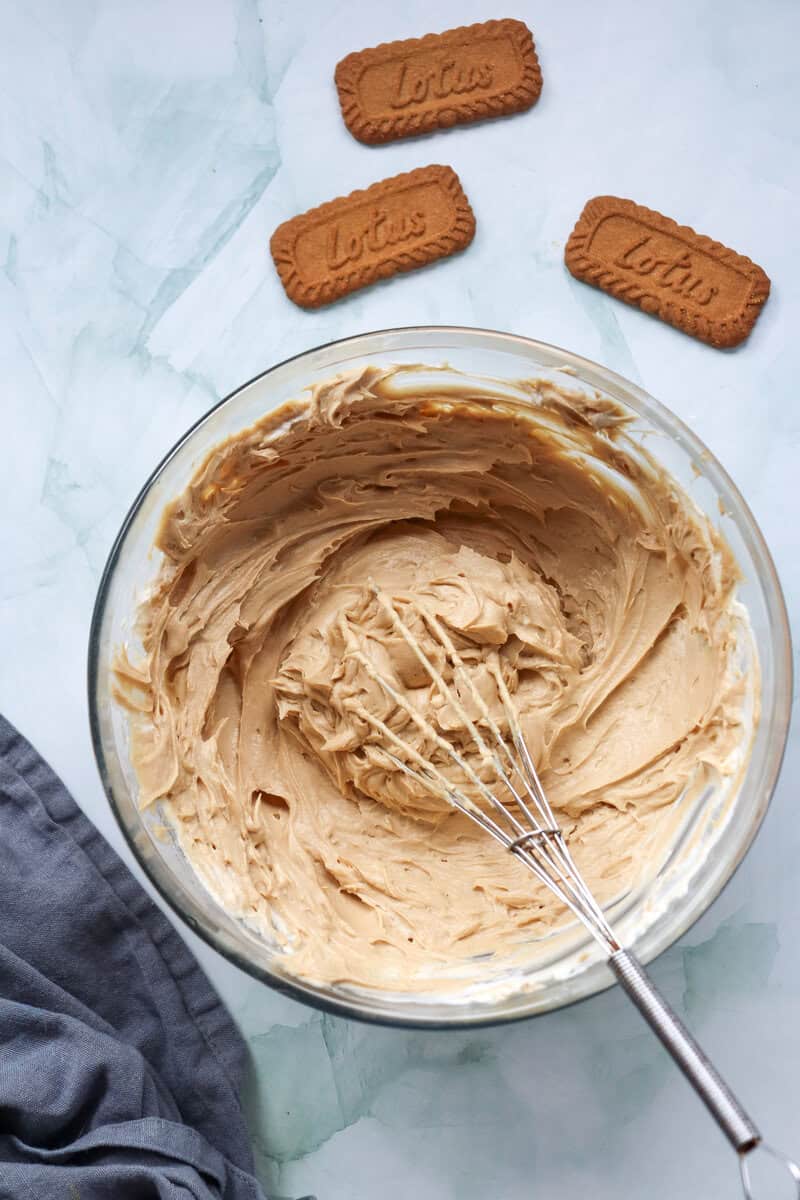
In a separate bowl, whip the cold whipping cream until stiff peaks form, then gently fold it into the cheesecake mixture. Fold just until combined so you don't knock out the air you just whipped in.
Assemble
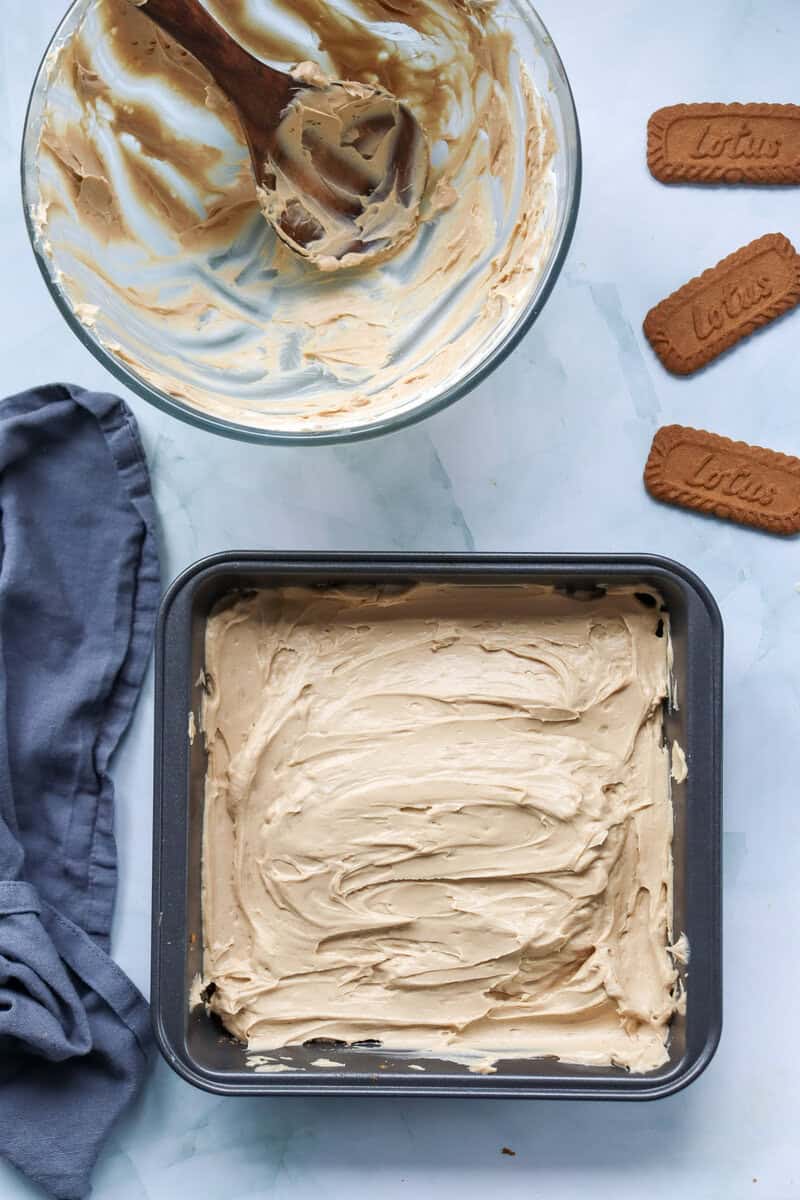
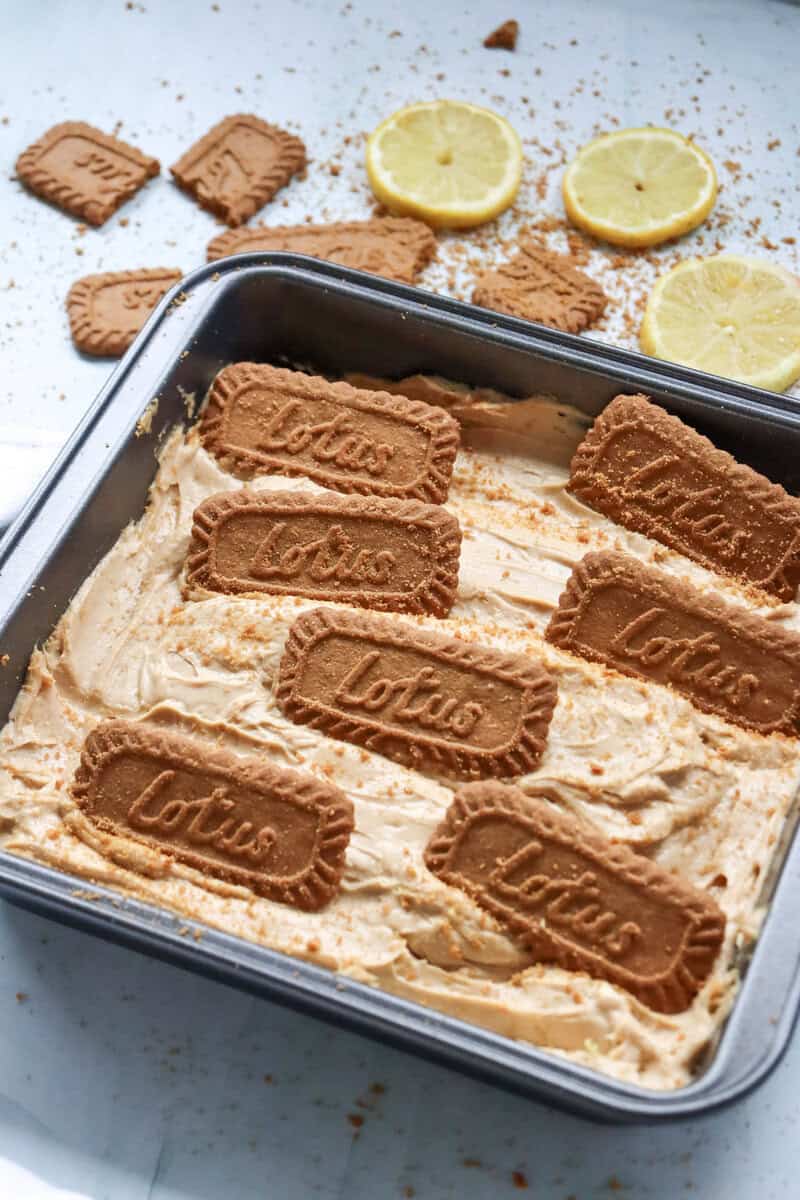
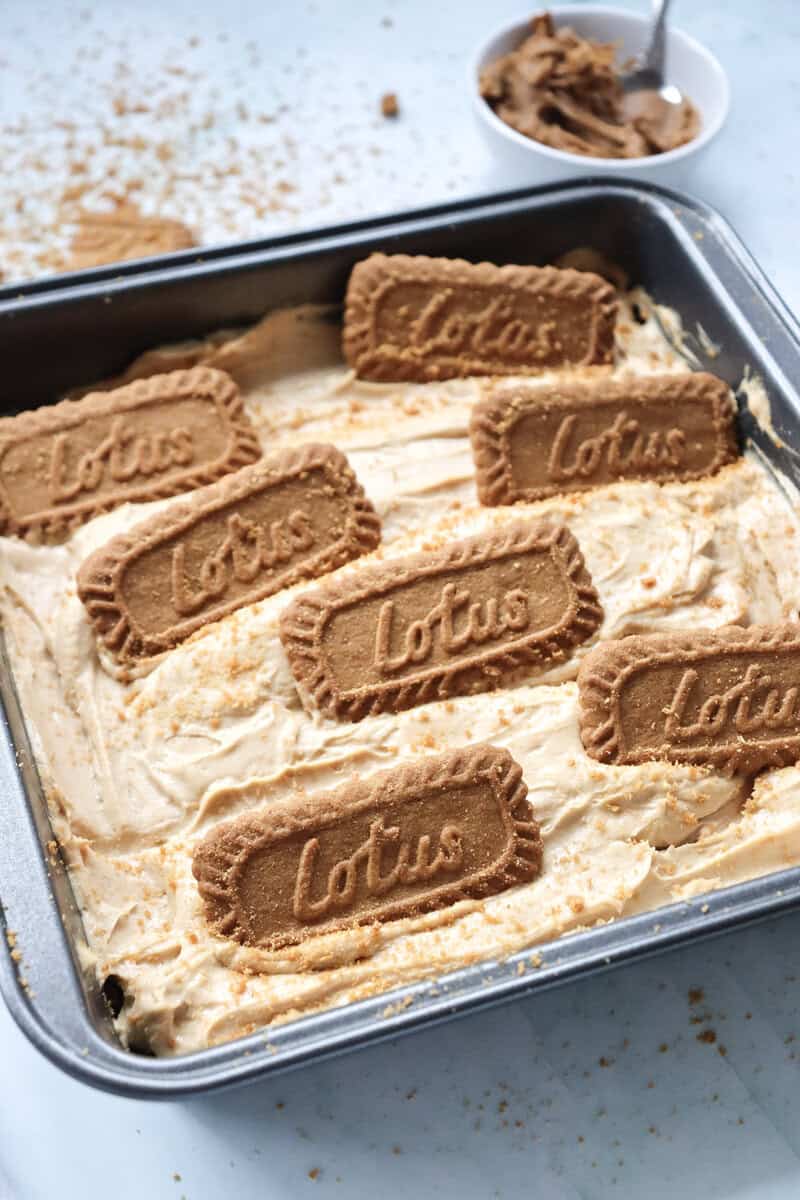
Spread the filling evenly over the crust, smoothing the top with a spatula. Garnish with the reserved cookies and a light sprinkle of extra crumbs if you'd like.
Chill
Refrigerate for at least 4 hours, or until fully set. I usually make this the night before, since it slices much cleaner after chilling overnight.
Serve
Slice into squares and serve chilled. A drizzle of melted Biscoff spread over the top right before serving takes it up another notch.
Equipment
I use a small square pan lined with parchment paper for this Biscoff cheesecake recipe, which makes the whole thing lift out in one piece for easy slicing.
A springform pan works too if that's what you have on hand; the layers will be a bit thicker since a round pan has less surface area than a square one.
An electric hand mixer makes beating the cream cheese and whipping the cream much easier, though you can do both by hand with a whisk if you're up for the arm workout.
Pro Tips
Make sure your cream cheese is fully softened to room temperature before you start. Cold cream cheese doesn't blend smoothly and can leave lumps in the filling.
A food processor makes quick work of the cookie crumbs and gets them much finer than crushing by hand, which helps the crust hold together.
Chill your mixing bowl and beaters for a few minutes before whipping the cream. Cold equipment helps it whip up faster and hold its peaks longer.
For extra-clean slices, pop the cheesecake in the freezer for 10 to 15 minutes before cutting, then wipe your knife between slices.
If your filling looks a little loose after folding in the whipped cream, don't panic. It firms up significantly once it's had time in the fridge.Content
What Biscoff Actually Is
If you have only ever had them on an airplane, Biscoff cookies are Lotus speculoos biscuits: Belgian cookies spiced with cinnamon, nutmeg, and a little clove, and sweetened with caramelized sugar. That caramel note is why they taste like more than a plain cinnamon cookie, and it's why this cheesecake works so well. The flavor already tastes complicated before you've done anything to it.
Biscoff spread, sometimes sold as cookie butter, is those same cookies ground into a smooth spread. Trader Joe's Speculoos Cookie Butter is the best-known alternative, and it works here.
How To Get Clean Slices
This is the difference between a cheesecake that looks homemade in a good way and one that looks like it lost a fight. It's mostly about patience and hot water.
- Chill it overnight, not the minimum four hours. An overnight chill is the single biggest thing you can do for clean edges.
- Fill a tall glass with hot water and keep it next to you while you slice.
- Dip the knife in the hot water, wipe it completely dry, then make one cut straight down. Do not saw back and forth.
- Wipe and re-dip between every single cut. Every one, not every few.
- Lift the first slice out with a small offset spatula. The first one is always the hardest, and after that you have room to work.
If you lined the pan with parchment and left an overhang, lift the whole cheesecake out onto a cutting board before you slice. Cutting it in the pan is how corners get messed up.
Make It Ahead
This is genuinely a make-ahead dessert, which is most of why I keep going back to it. Here is the timeline I use when I'm bringing it somewhere:
- Two days ahead: make the whole thing, cover it, and leave it in the fridge. It's actually better on day two than on day one.
- The morning of: slice it, then put the slices back in the fridge on the serving plate.
- Right before serving: microwave a couple spoonfuls of Biscoff spread for 15 seconds, drizzle it over the top, then add the reserved cookies.
- Do not add the cookie garnish until serving day. Cookies sitting on a moist filling overnight go soft.
Variations Worth Trying
- Biscoff and chocolate: spread a thin layer of melted dark chocolate over the crust and let it set before adding the filling. It also keeps the crust crisp.
- Salted Biscoff: sprinkle flaky salt over the top before serving to cut the sweetness and make the caramel flavor read stronger.
- Biscoff banana: a layer of thinly sliced banana between crust and filling. Very good, but eat it the same day because banana browns.
- Individual jars: layer crumbs and filling in small jars instead of a pan. No slicing at all, and they chill in about two hours.
- Pumpkin spice Biscoff: add half a teaspoon of pumpkin pie spice to the filling in the fall. The spices in the cookie already get you halfway there.
If Your Cheesecake Did Not Set
A no-bake cheesecake sets on fat and structure, not on baking, so if it's soft after a full overnight chill, something in the method is usually the culprit.
- Low-fat cream cheese: it has more water in it and won't firm up. Use full-fat block cream cheese, not the spreadable tub kind.
- Under-whipped cream: the whipping cream needs to reach genuinely stiff peaks before you fold it in. Soft peaks are not enough.
- Over-folded filling: folding too hard knocks the air out of the cream you just whipped. Fold until it just comes together and then stop.
- Warm kitchen: if your kitchen is hot, chill the bowl and beaters first and work quickly.
- Not enough time: four hours is the minimum and overnight is better. If it's soft at four hours, give it longer before you decide it failed.
If it's still too soft to slice, freeze it for 30 to 45 minutes right before serving. That firms it up enough to cut cleanly and nobody will know.
Storage
Store the cheesecake in an airtight container in the fridge, and it will keep well for 3 to 4 days. Since it's a no-bake dessert with a whipped cream filling, it's best enjoyed within that window rather than held much longer.
This cheesecake also freezes well! Wrap it tightly and freeze it for up to 2 months, then thaw it in the fridge overnight before serving.
Frequently Asked Questions
Yes, a springform pan or even a standard loaf pan will work. Just keep in mind that a smaller or narrower pan will give you thicker slices, while a wider one will give you a thinner cheesecake.
Look for speculoos cookie butter or a spiced biscuit spread, since Biscoff is sold under different names in different countries. Any similar cookie butter spread will give you a similar flavor.
This usually happens if the cream cheese wasn't fully softened before mixing, or if you overmix the whipped cream before folding it in. Beating the cream cheese until it's completely smooth first helps prevent this.
Yes, and there's a section above on exactly how. Swap the Biscoff cookies and spread for a gluten free speculoos style cookie and cookie butter. The method doesn't change.
You can, wrapped tightly, for up to 2 months. Thaw it overnight in the fridge. Add the cookie garnish after thawing rather than before.
No. A springform pan or a loaf pan both work, and there's a note above on how the pan shape changes the thickness of your slices.
You can, and it sets firm, but the texture goes a little spongy, and the flavor is sweeter. Real whipped cream is better here if you have it.
Two days is comfortable. Past that, the crust starts softening from the moisture in the filling.
Any speculoos or spiced biscuit works, and so do gingersnaps, which give you a sharper ginger note instead of the caramel one.
More No Bake and Easy Desserts
- No Bake Cheesecake, the classic version this one is built on.
- Gluten Free Cheesecake if you want the baked version instead.
- Springy No Bake Desserts with Fruit for more of the oven-free approach.
- Brownie Batter Poke Cake for when chocolate is the assignment.
- Peach Cobbler, which is my other go-to for feeding a crowd.
No Bake Biscoff Cheesecake
Ingredients
- 1 cup Biscoff spread
- 7 ounces Biscoff cookies crushed, plus about 4 reserved for garnish
- 5 Tablespoons butter melted
- 1 cup cream cheese 8 oz
- 2 Tablespoons powdered sugar
- 1 teaspoon vanilla extract
- ½ cup whipping cream cold
Instructions
- Crush the Biscoff cookies into fine crumbs, reserving about 4 cookies for garnish. Mix the crumbs with the melted butter until the mixture resembles damp sand, then press firmly into a small square pan lined with parchment.
- Beat the cream cheese with the powdered sugar and vanilla extract until smooth and creamy, then fold in the Biscoff spread until fully combined.
- In a separate bowl, whip the cold whipping cream until stiff peaks form, then gently fold it into the cheesecake mixture until just combined.
- Spread the filling evenly over the crust and garnish with the reserved cookie pieces and a light sprinkle of extra crumbs, if desired.
- Refrigerate for at least 4 hours, or overnight for the best texture.
- Slice into squares and serve chilled, with an optional drizzle of melted Biscoff spread on top.
Notes
Nutrition
Nutrition Disclaimer
All nutritional information provided is an estimate. For specific dietary needs or concerns, we recommend consulting a nutrition calculator or a qualified expert.

More Easy Dessert Recipes
Looking for other easy dessert recipes like this? Try these:


Karen Kelly
Karen Kelly is a nationally syndicated food and travel writer, founder of Seasonal Cravings, and co-founder of The Roam Report. She develops approachable seasonal recipes and covers travel and lifestyle trends. Her work has appeared in numerous media outlets, including Yahoo, Taste of Home, Apple News, NBC, FOX, and other national and regional publications.
Tell Us What You Think