This delicious gluten-free blondies recipe is a game-changer for all the sweet-toothed health enthusiasts out there. They’re packed with a classic combo of peanut butter and chocolate to satisfy your cravings in the most wholesome way. It’s the perfect blend of deliciousness and health, making it an irresistible treat that you can enjoy feeling guilty.
Blondies are a delicious dessert bar that have the texture of a brownie but replaces cocoa powder with brown sugar. What sets these gluten-free blondies apart is their versatility. They are not just for those following a gluten-free diet but for anyone who appreciates a good, hearty, sweet treat.
The recipe is simple and quick, making use of pantry staples, and the result is a batch of blondies that are rich, chewy, and oh-so-delicious! The star ingredients are definitely the natural peanut butter and mega chunk chocolate chips. They work together to create a delicious flavor profile that's hard to resist. The peanut butter lends a creamy, nutty taste, while the chocolate chips add a sweet, delightful touch.
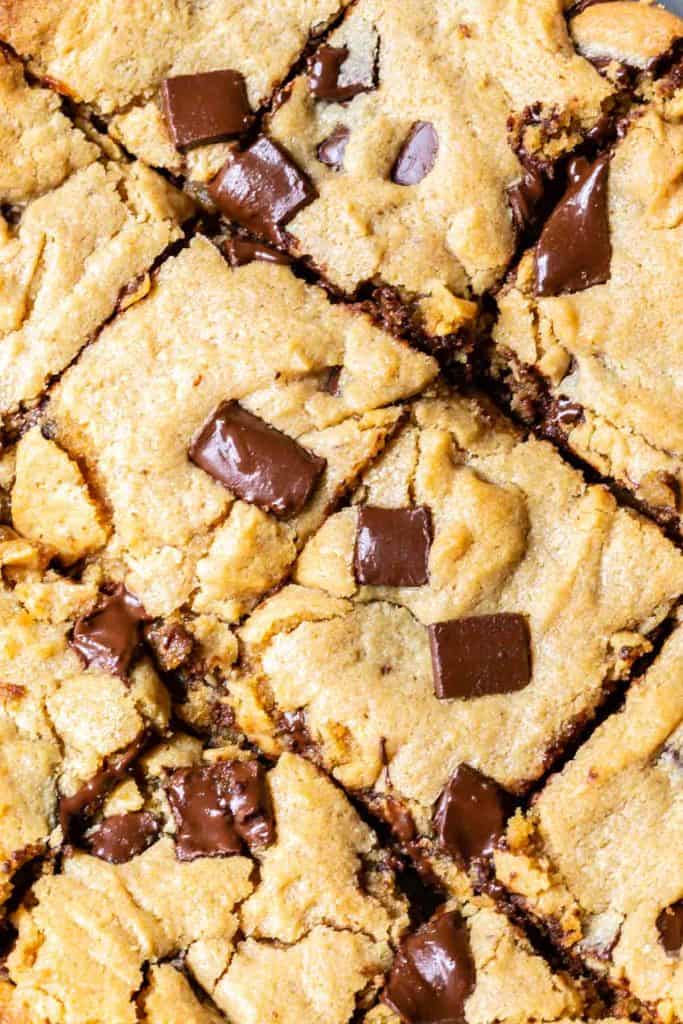
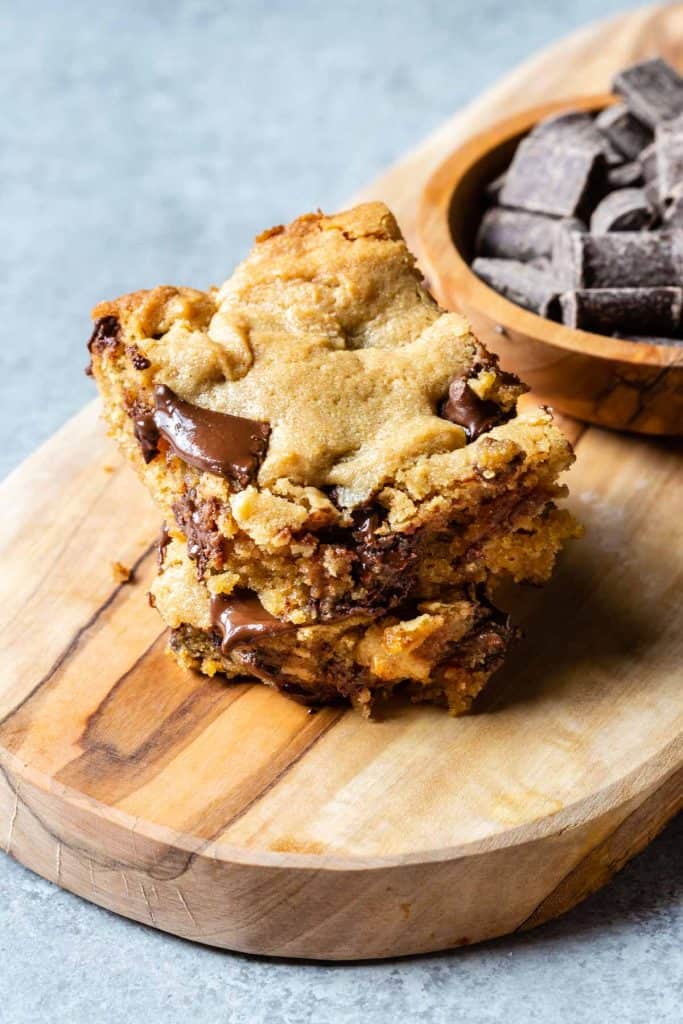
These gluten-free blondies are not just about taste; they also offer a great texture. The chewy center and the crispy edges make every bite absolutely delicious. And the best part? You can customize this recipe to your liking. Whether you prefer butterscotch chips, white chocolate, or bittersweet baking chips, these blondies can cater to your preferences.
Serve these gluten-free chocolate chip blondies to your friends and family, and watch as they disappear! Whether you need a quick treat for school, a dish to share at church, or a comforting sweet for a neighbor in need, these blondies are a perfect choice. They can be stored for up to five days, but trust me, they won't last that long!
So, are you ready to give these gluten-free blondies a try? Let's get baking!
Why You’ll Love These Gluten-Free Blondies
- Quick and Easy: These gluten-free peanut butter blondies are a breeze to make. With just a few simple steps and pantry staples, you'll have a delicious treat ready in only 30 minutes!
- Gluten-Free: This recipe uses gluten-free flour, making it a perfect treat for those with gluten sensitivities or anyone looking to reduce their gluten intake. But don't worry, the taste and texture are so good, no one will suspect they're gluten-free!
- Simple Ingredients: This is a great recipe that uses everyday ingredients like peanut butter, brown sugar, eggs, and chocolate chips. It's proof that you don't need fancy or hard-to-find ingredients to make a delicious, gluten-free dessert.
- Family-Friendly: These blonde brownies are a hit with both kids and adults. The combination of peanut butter and chocolate is a crowd-pleaser, making this recipe a great choice for family gatherings or just a regular weekday dessert.
- Perfect for Beginners: With straightforward instructions and common ingredients, this recipe is a great starting point for those new to baking. Plus, the end result is so tasty, that it'll boost your baking confidence!
- Versatile: This classic gluten-free recipe is incredibly versatile. You can substitute the peanut butter with almond, sunflower, pecan, or cashew butter. You can also mix up the chocolate chips with butterscotch, white chocolate, or bittersweet baking chips.
Ingredients
Whipping up this easy gluten-free blondies recipe is super easy, thanks to the easy-to-find ingredients. You'll find these pantry staples at your local grocery store, or you might already have them in your kitchen!
- Natural Peanut Butter: This is the star of our blondies, giving them a rich, nutty flavor. It also helps to bind the ingredients together. If you have a peanut allergy, feel free to substitute with almond, sunflower, pecan, or cashew butter.
- Unsalted Butter: Softened unsalted butter adds creaminess to the batter and richness to the final product. For an even richer flavor, you can brown the butter first before using it.
- Brown Sugar: This imparts a sweet, caramel-like flavor to our blondies, enhancing the overall taste. It also helps in creating a moist and chewy texture.
- Eggs: Eggs act as a binding agent, holding all the ingredients together. They also contribute to the fluffy and moist texture of the blondies.
- Vanilla: A dash of vanilla adds a subtle yet delicious aroma and flavor to the blondies, complementing the taste of the other ingredients. I prefer Rodelle Vanilla Extract.
- Gluten-Free Flour: I use Bob's Red Mill 1 to 1 gluten-free baking flour, which works perfectly in this recipe. It gives the blondies their structure without the gluten, making them suitable for those with gluten intolerance or celiac disease.
- Baking Powder: This is our leavening agent, helping the blondies to rise and giving them a light, soft texture.
- Salt: A pinch of salt enhances the flavors of the other ingredients, making the peanut butter and chocolate taste even better.
- Mega Chunk Chocolate Chips: I use Enjoy Life chocolate chips, which are gluten-free. They melt into the blondies, creating pockets of gooey, melted chocolate. If you prefer, you can also add butterscotch, white chocolate, or bittersweet baking chips.
How to Make Gluten-Free Blondies
Here's your guide to creating the best blondies! For a more detailed step-by-step process and nutrition facts, see the recipe card at the end of this post.
Step 1.
Preheat and prepare the baking pan: Start by preheating your oven to a temperature of 350 degrees. Grab an 8x8 baking pan, spray it with a cooking spray of your choice, and line it with parchment paper for easy removal of the blondies later.
Step 2.
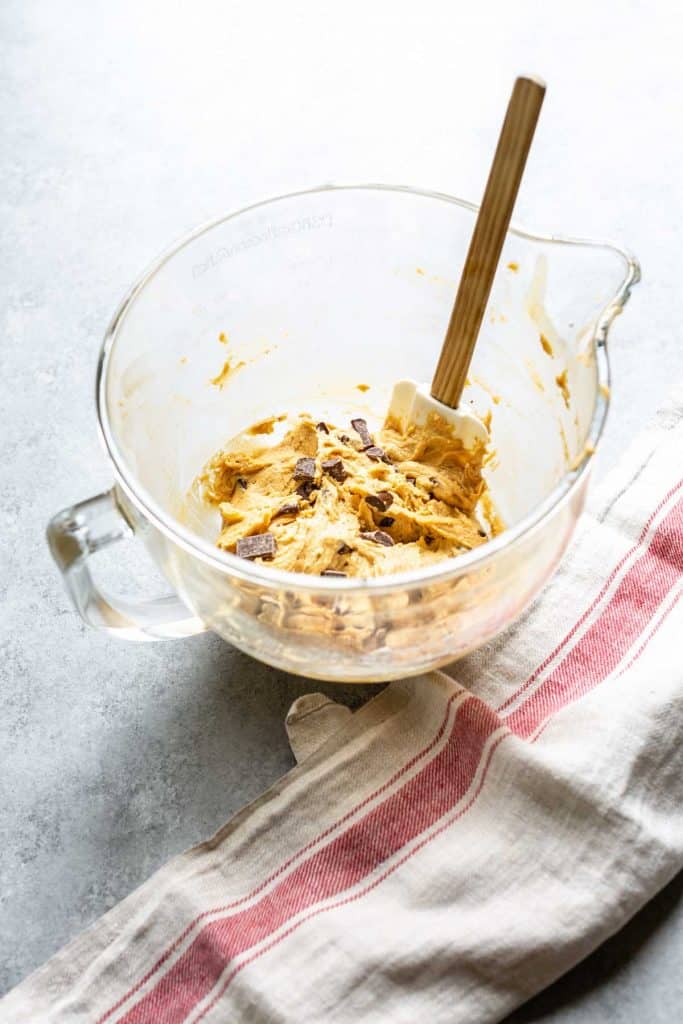
Cream the butter and sugars: Using a mixer, beat the butter, peanut butter, and sugar together until the mixture becomes creamy. After this, add the eggs and vanilla into the mixture and continue to mix.
Step 3.
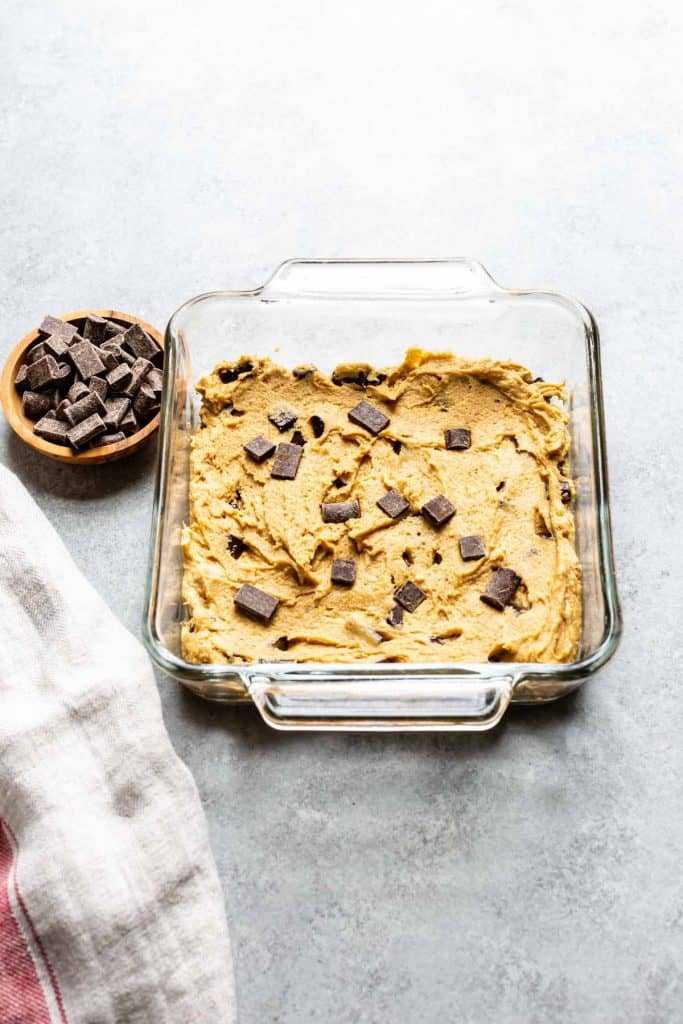
Add the dry ingredients: Stir in the flour, baking powder, and salt into the creamy mixture. Once it is all mixed in, add the chocolate chips and stir until they're evenly distributed.
Step 4.
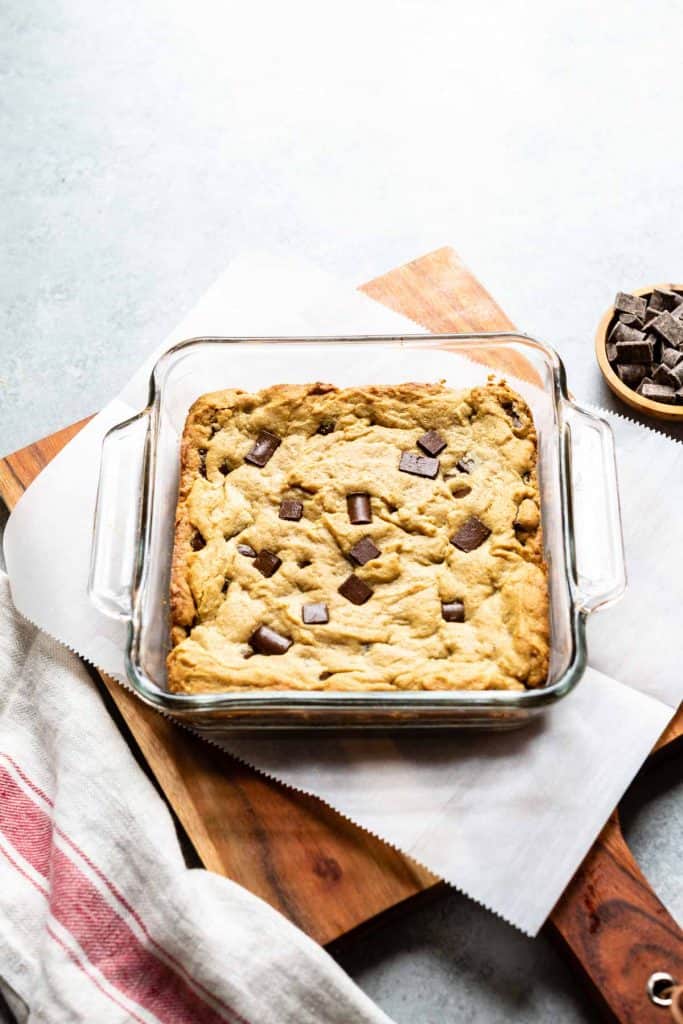
Spread the mixture and bake: Spread the mixture evenly into your prepared baking pan. Bake your blondies for 20-25 minutes until they turn golden brown or until a toothpick inserted in the middle comes out clean.
Step 5.
Cool and cut: Once baked, let the blondies cool down. After they've cooled, cut them into squares using a plastic knife to prevent them from sticking to the knife. Enjoy your delicious, gluten-free blondies!
Variations
- Add Nuts: If you're a fan of nuts, try adding a handful of chopped pecans or walnuts to the mix. Their crunch and unique flavor will add an exciting contrast to the chewy texture of these gluten-free brownies blondies.
- White Chocolate Blondies: For a different flavor profile, swap out the mega chunk chocolate chips for white chocolate chips. The sweet and creamy taste of white chocolate pairs wonderfully with the rich peanut butter.
- No-Nut Variation: If you're allergic to peanuts, don't worry! You can substitute the peanut butter with almond butter, sunflower seed butter, or any other nut-free butter you prefer. Remember to check the labels to make sure they're gluten-free.
- Double the Vanilla: For a more pronounced vanilla flavor, try doubling the amount of vanilla extract in the recipe. This will give your blondies a lovely, aromatic sweetness that's hard to resist.
Helpful Tips
Making these gluten-free blondies is quick and easy, but keeping a few expert tips in mind can take your baking game to the next level. Let's check out these handy tips for the best results:
- Preheat your oven: Always preheat your oven to the required temperature before you start baking. This guarantees an even bake and a perfect texture for your blondies.
- Choose the right butter: Using natural peanut butter and unsalted butter that has been softened in the microwave for about twenty seconds gives these blondies a rich, creamy texture.
- Mixing matters: When combining the butter, peanut butter, sugar, eggs, and vanilla, make sure to mix until creamy. This will help to incorporate all the flavors beautifully.
- Flour choice: Using a trusted brand like Bob's Red Mill for your gluten-free flour can make a significant difference in the end result. The right flour blend helps make sure that your blondies have the perfect texture.
- Properly cut the blondies: Cutting your blondies with a plastic serrated knife can help them come out nice and neat. It might seem minor, but presentation matters!
Dietary Substitutions
This classic recipe is already gluten-free, thanks to the use of gluten-free flour. However, there are a few tweaks needed to make it suitable for other dietary restrictions. Here's how you can adapt this recipe:
To Make This Recipe Vegan and Dairy-Free:
- Replace the eggs with a flax egg (1 tablespoon of ground flaxseed mixed with three tablespoons of water per egg) or a commercial egg replacer.
- Swap the unsalted butter with a vegan butter substitute or coconut oil.
- Make sure your chocolate chips are vegan as well - some brands use dairy products.
To Make This Recipe Paleo and Whole30 Friendly:
- For a Paleo and Whole30-friendly version, replace the peanut butter with almond butter or another nut butter that fits within your dietary guidelines.
- Substitute the brown sugar with a natural sweetener like honey or maple syrup.
- Use a Paleo-friendly flour blend instead of gluten-free flour.
To Make This Recipe Keto: To adapt this recipe for a keto diet:
- Replace the brown sugar with a keto-friendly sweetener like erythritol or monk fruit sweetener.
- Use almond flour or coconut flour instead of gluten-free flour.
- Use sugar-free chocolate chips.
Storage Instructions
To Refrigerate: After enjoying these delicious gluten-free blondies, store any leftovers in an airtight container or cover them with plastic wrap. They will keep well on the counter or in the refrigerator for about four to five days.
To Freeze: Unfortunately, due to the rich, buttery texture and the chewy center of these blondies, freezing is not recommended. The thawing process may alter the texture and dampen the overall taste experience.
To Reheat: If you've stored your blondies in the fridge and prefer them a bit warmer, simply reheat them in the microwave for a few seconds. Be careful not to overheat as it can make them too soft. Enjoy the perfect peanut butter and chocolate combo once again!
Frequently Asked Questions
What can I use if I don't have natural peanut butter?
Can I use a different type of sugar instead of brown sugar?
Can I use a different type of gluten-free flour?
Can I add other types of baking chips to the recipe?
What's the best way to cut these gluten-free blondies?
Can I brown the butter first for extra flavor?
Serving Suggestions
These gluten-free blondies are a versatile treat that can be incorporated into various meal settings. Here are some delicious serving suggestions for you to consider:
- Breakfast: Start your day on a sweet note by pairing these gluten-free blondies with a cup of hot coffee or a refreshing blackberry smoothie. You can also serve them alongside gluten-free granola or a bowl of fresh fruits.
- Brunch: These blondies make a wonderful addition to your brunch spread. Serve them with other gluten-free breakfast items like scrambled eggs, bacon, or a hearty avocado toast with turkey and cranberry sauce.
- Afternoon Snack: These gluten-free blondies can be the star of your afternoon tea or coffee break. Pair them with a warm cup of tea or a refreshing homemade lemonade.
- Dessert: Serve these delightful blondies as a dessert after a hearty meal. They pair beautifully with a scoop of dairy-free ice cream or a dollop of coconut cream.
- Party Treat: These blondies are a hit at parties! Serve them on a dessert platter alongside other gluten-free treats like chocolate-covered strawberries, mini cheesecakes, or a gluten-free apple crisp.
- For Kids: Kids absolutely love these gluten-free blondies! Pack them for school lunch or serve them as an after-school snack. They pair well with a glass of almond milk or a fruit smoothie.
Recipe Card
Gluten Free Peanut Butter Blondies with Chocolate Chips
Ingredients
- ¾ cup natural peanut butter
- ¼ cup unsalted butter softened 20 seconds in microwave
- ¾ cup brown sugar
- 2 eggs room temperature
- 1 ½ teaspoon vanilla
- ¾ cup gluten free flour I use Bob's Red Mill
- 1 teaspoon baking powder
- ½ teaspoon salt
- 1 ¼ cup mega chunk chocolate chips Enjoy Life chips are gluten free
Instructions
- Preheat the oven to 350 degrees. Spray an 8x8 baking pan with cooking spray and line with parchment paper.
- Beat the butter, peanut butter and sugar with a mixer until creamy. Add eggs, vanilla and mix.
- Stir in the flour, baking powder, and salt. Add chocolate chips and stir.
- Spread evenly into pan. Bake for 20-25 minutes or until toothpick comes out clean.
- Let cool and with a plastic knife into squares.
Notes
Nutrition
Adapted from Eating Well Magazine


Tell Us What You Think